Posted on:
What is Bitwarden Enterprise, and how to set it up with Google SSO via OIDC?
In this tutorial, you will learn more about the Bitwarden Enterprise plan and the steps to configure its SSO with Google as an identity provider.
In this digital age, people usually have tens if not hundreds of accounts for their online services. These accounts range from simple daily services like grocery, and entertainment, to sensitive ones like banking or health records. The same applies to corporation use cases, but there, all the credentials are considered highly sensitive. This leads to the concern of how to store and govern all these passwords, and it is when a password manager such as Bitwarden comes to play.
Why is Bitwarden Enterprise?
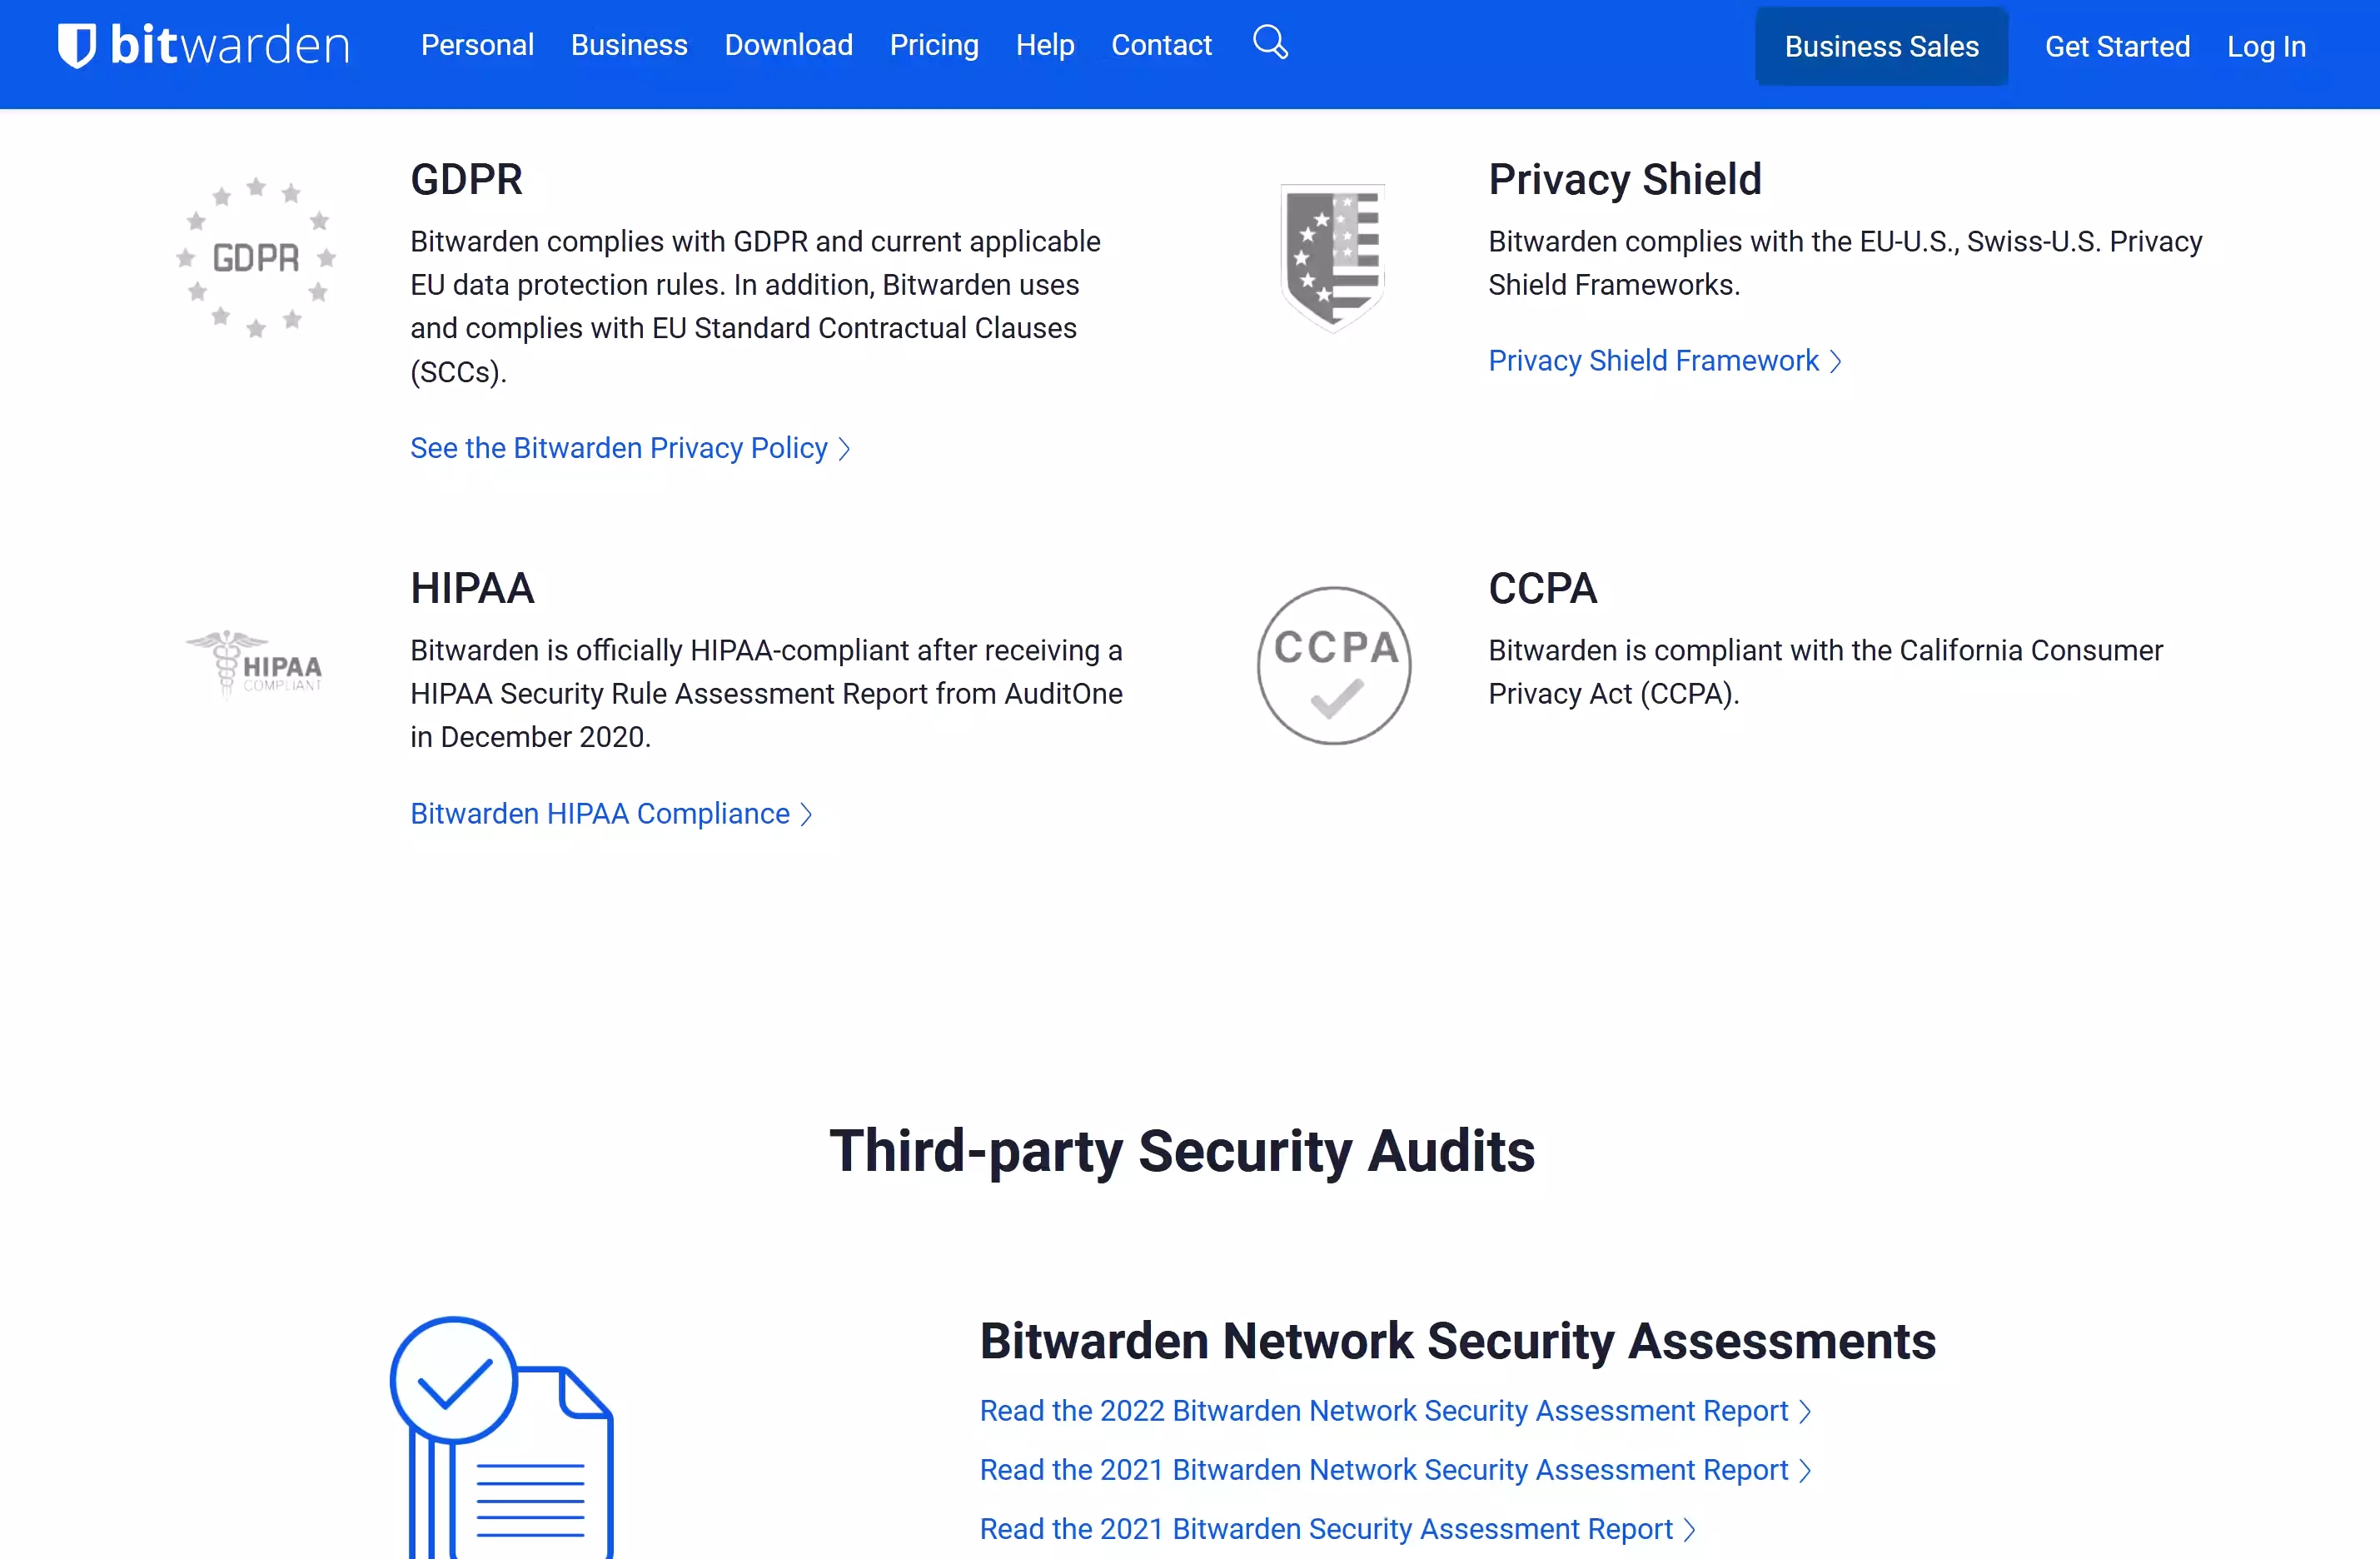
Using a password manager, a person can safely generate complex passwords and store them in a secure location. This helps avoid all potentially unsafe “homemade” methods like writing credentials down on paper or storing it in a plain text file. Bitwarden is a popular open-source password manager, meaning thousands of eyes look at the codebase to find and patch vulnerabilities. Along with that, Bitwarden complies with multiple industrial standards and passed several third-party audits. In a corporate environment, where security and compliance are critical matters, this makes Bitwarden become a strong password manager solution.
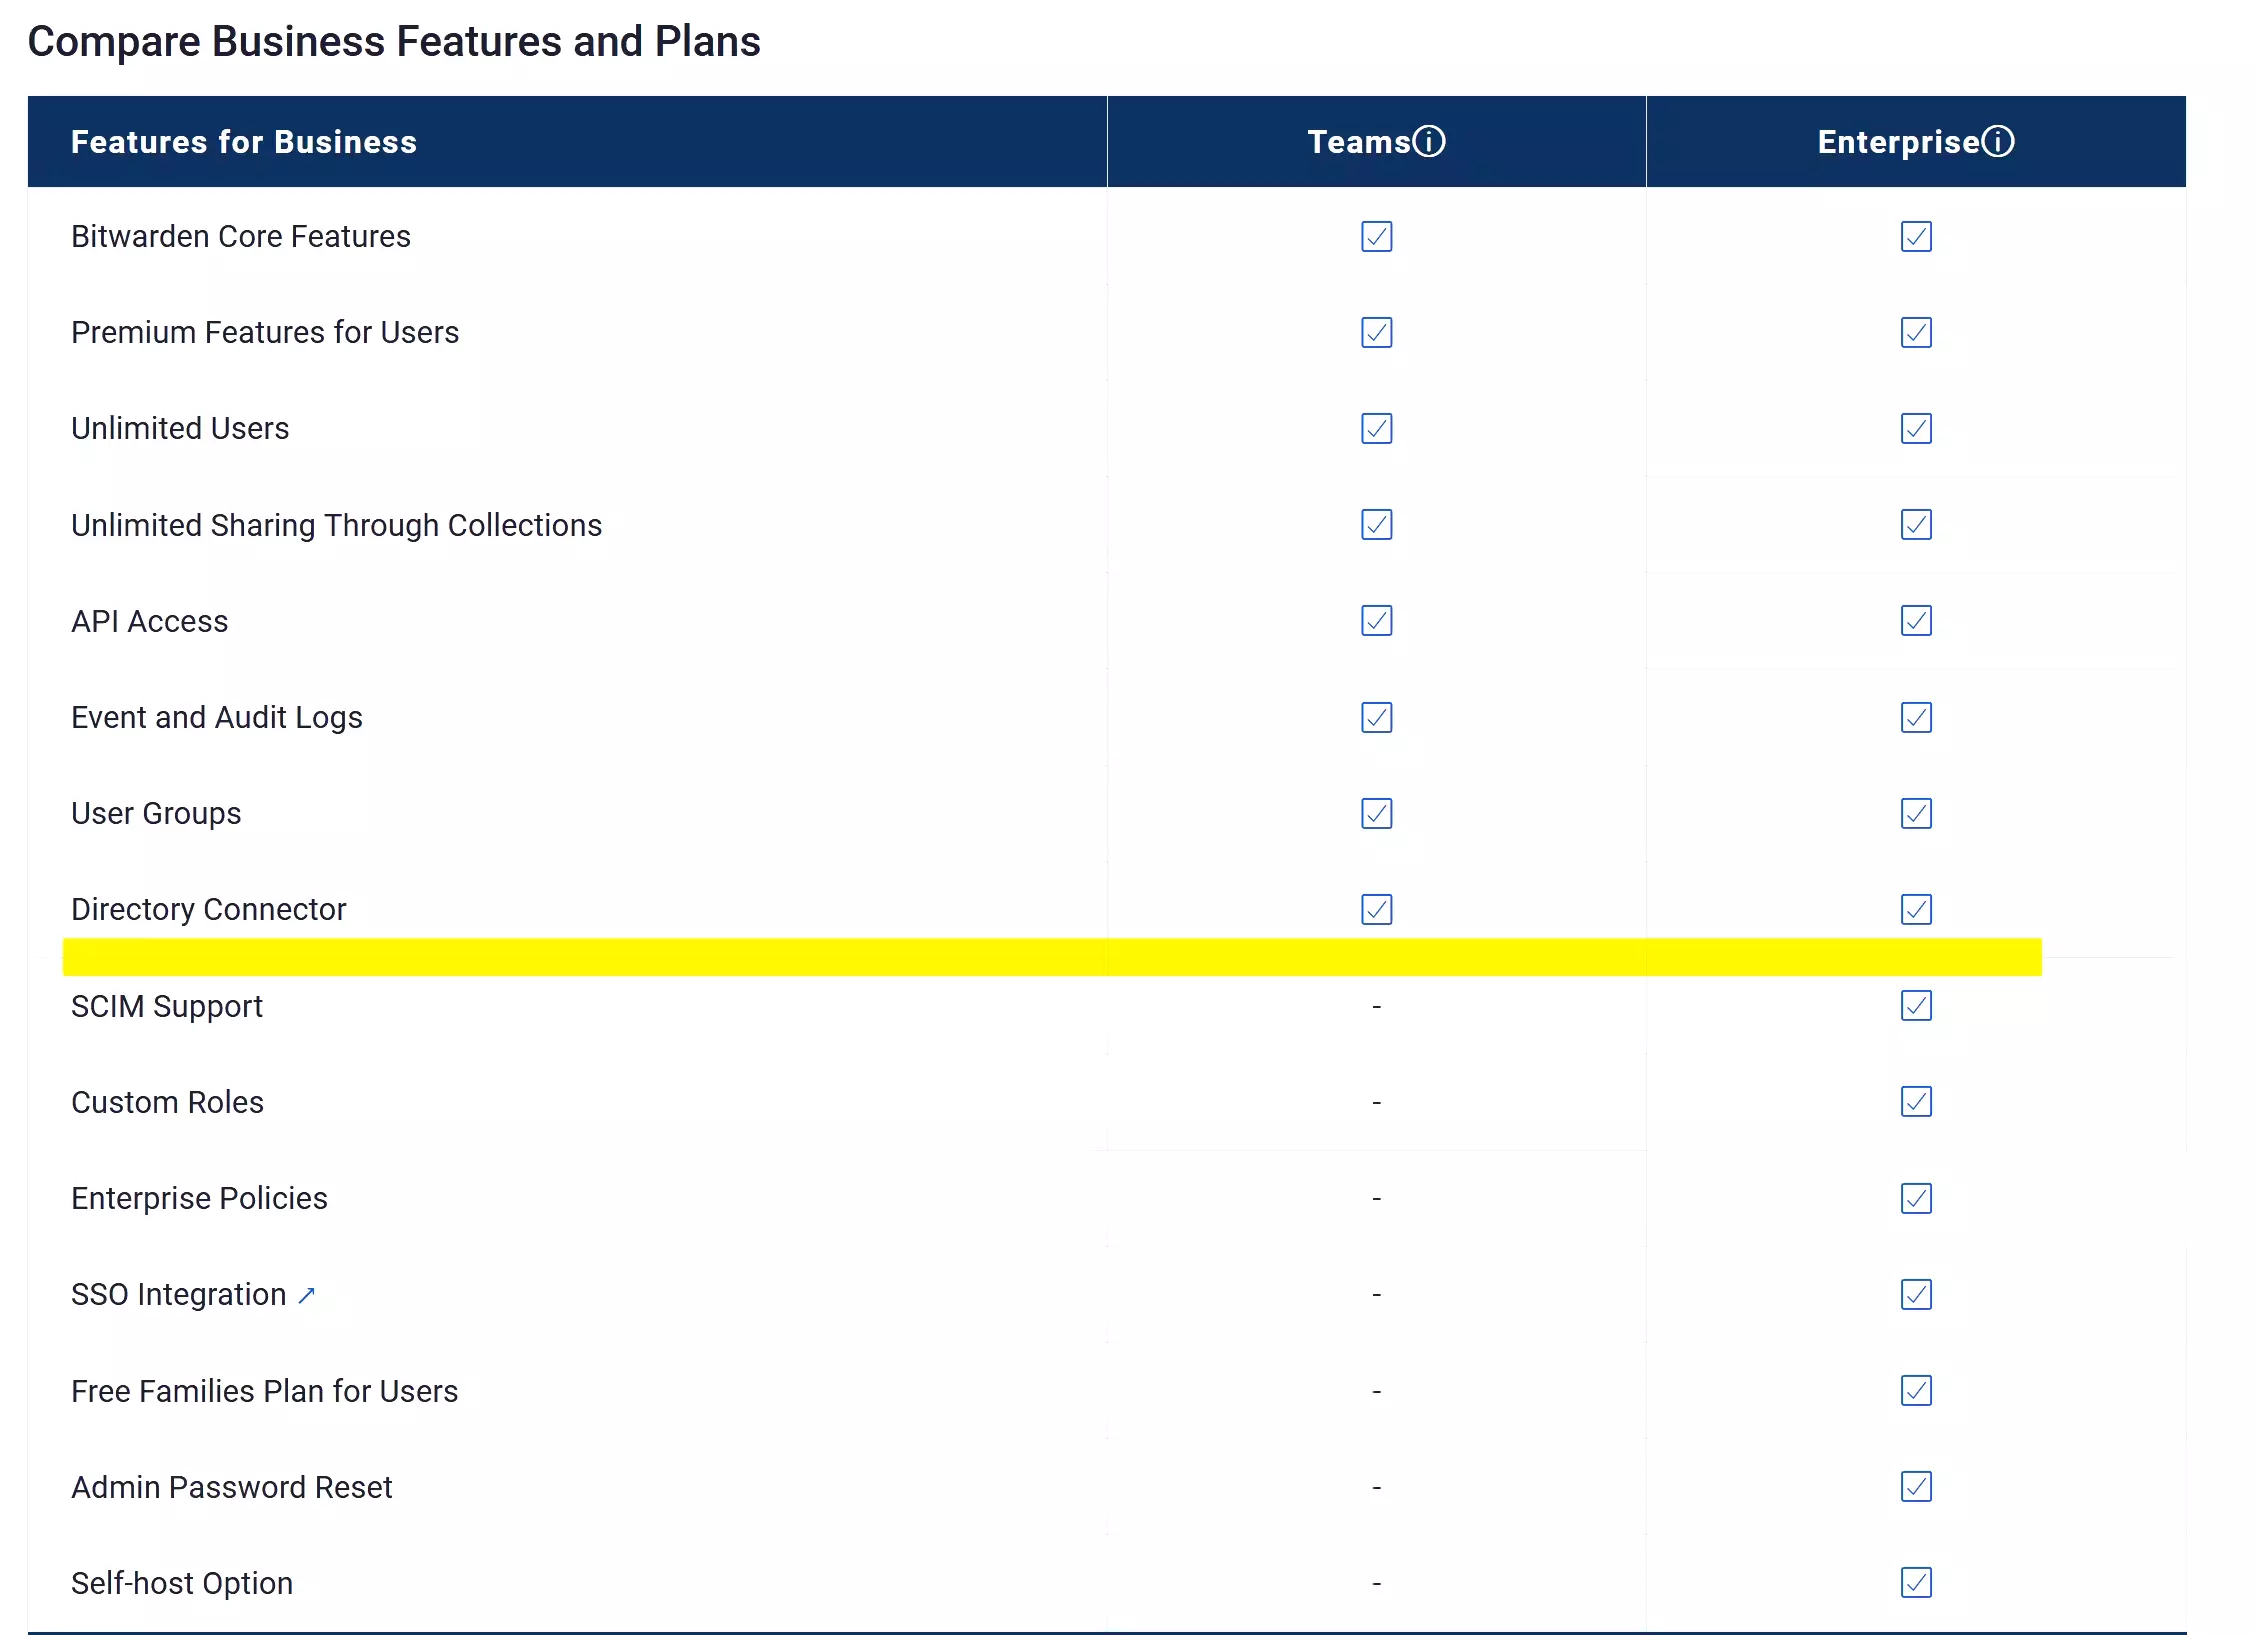
Currently, Bitwarden has two public business plans, called Bitwarden Team and Bitwarden Enterprise. Between the two, Bitwarden Enterprise offers many more tenant governance features, making administrative tasks less of a hassle. Usually, corporations use an active directory as a way to manage their users. As Bitwarden Enterprise supports single sign-on (SSO), the number of credentials to remember is reduced, while helping users sign in to Bitwarden with their active directory account. Inherently, both the user and administrator experience are improved while potential failure points are reduced since management is centralized in the active directory.
How to set up Google SSO using OIDC in Bitwarden Enterprise?
Google is one of the big players in the business environment with its Google Workspace (formerly called G Suite), especially in the education and healthcare industry where several regulations and compliances are required. To set up Google SSO in Bitwarden Enterprise, there are two ways to do so: Security Assertion Markup Language (SAML) and OpenID Connect (OIDC). Each approach has its pros and cons, and for SAML, Bitwarden has an official guide for the implementation. There is none for OIDC, so it becomes the focus of this tutorial. The setup will be performed using the Bitwarden Enterprise web portal and the Google Cloud Platform (GCP) dashboard. All instructions are based on an assumption that you have a basic understanding of the GCP beforehand, so some details are omitted there.
Step 1: Enforce a single sign-on policy in Bitwarden

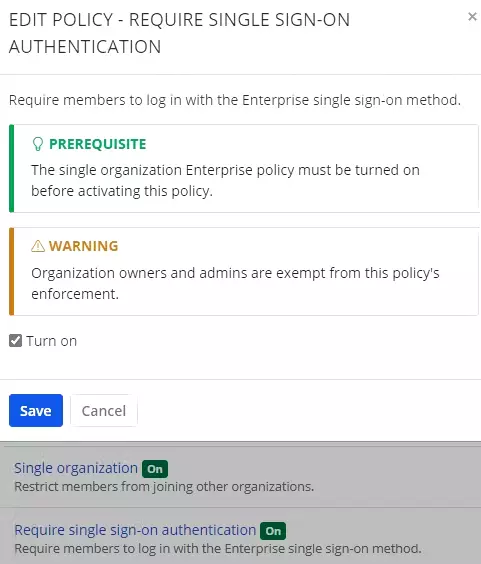
Bitwarden requires the organization to enable both Single organization and Require single sign-on authentication to set up the SSO. Start by signing in to an organization administrator account, then navigate to Organizations > Settings > Policies and enable the two mentioned policies. The policy Single organization is enabled first because it is a prerequisite for Require single sign-on authentication.
Step 2: Enable SSO settings in Bitwarden (no OpenID configuration yet)
You are in the Settings panel at the moment. Now, navigate to the Single sign-on page and check Allow SSO authentication. With that, certain configurations now show up. Do the following:
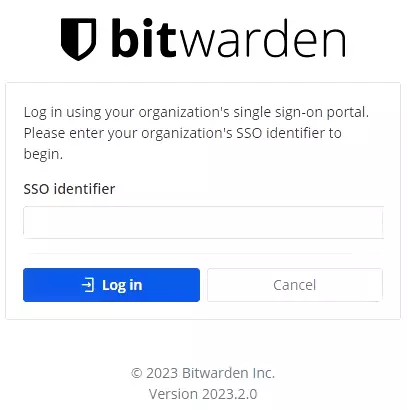
- SSO identifier:
my-organization-123This is a fixed and public identifier of your organization. The identifier must be a string with up to 50 characters (e.g.,my-organization-123). Company users need this ID to start the sign-in to your organization. It is by no means a sensitive secret as the user must pass the SSO process and be approved by an administrator before having access to the Bitwarden vault. - Member decryption options:
Master passwordThere areMaster passwordandKey connectoroptions. For this tutorial, choose theMaster passwordoption. This means after users pass their SSO process, they need to create a master password to encrypt/decrypt Bitwarden vault (new users) or enter the master password (existing users). - Type:
OpenID ConnectThere areOpenID ConnectandSAML 2.0options. Chose theOpenID Connectoption for this tutorial. - **OpenID connect configuration:**Leave everything as is, you will revisit this section in the latter steps. For now, note down the Callback path and Singed out callback path, as they will be used soon.

Step 3: Create a consent screen for your Bitwarden project in GCP
The OpenID connect configuration requires Client ID and Client secret, these can be achieved via the GCP dashboard. To do so, the first step is to create an OAuth consent screen for your Bitwarden application.
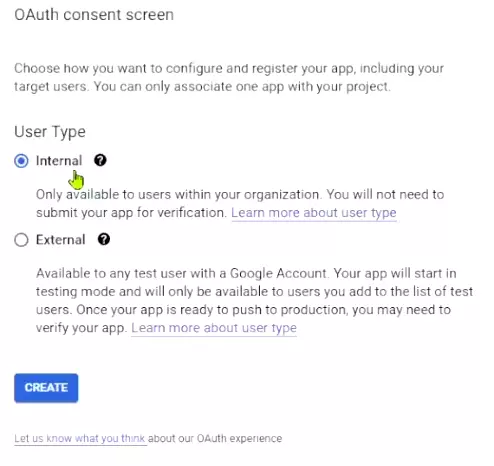
Use the search bar and look up the OAuth consent screen then navigate there. Because this is an SSO for internal users, choose an Internal User Type then press Create. This leads to the Edit app registration screen.
This is where you fill in trivial information for the SSO popup such as the application name, support contact, logo, and so on. Fill them out as per your organization’s rules. In this tutorial, the Scopes section can be skipped, but in reality, your organization might have specific requirements to limit user access in this Bitwarden GCP project. More detail about the scopes can be found in Google’s official documentation.
Step 4: Create an OAuth client ID and secret in GCP
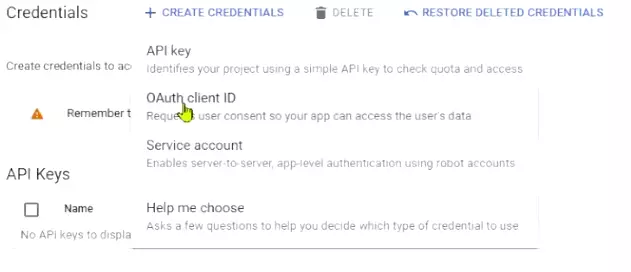
Use the search bar and look up for Credentials of your project and navigate there. Press Create Credentials button and pick the OAuth Client ID option. If the consent screen was not properly configured or is missing, you may not be able to move forward. There is an error message and shortcut button to create a consent screen when that happens, but if not, head back to step 3 of this tutorial and start from there.
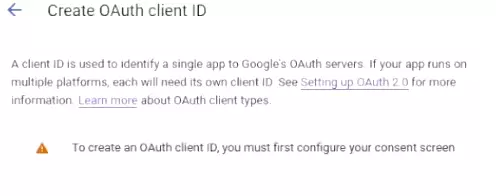
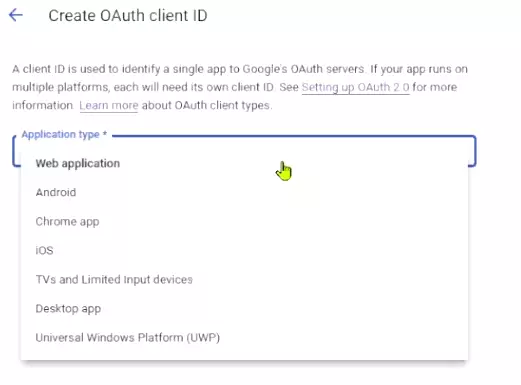
Vice versa, if the consent screen was successfully created, the Application type configuration will show up. Choose the Web application option from the drop-down then continue to the next screen.
Here, certain options need to be filled out in a specific way:
- Authorized JavaScript origins:
https://bitwarden.comTo sign in to the Bitwarden web portal, the user needs to visitvault.bitwarden.com, in other words, a subdomain ofbitwarden.com. With that said, addhttps://bitwarden.comto the Authorized JavaScript origins section. This covers all subdomains ofbitwarden.com. - Authorized redirect URIs:
https://sso.bitwarden.com/oidc-signinandhttps://sso.bitwarden.com/oidc-signedoutRemember the two Callback path and Singed out callback path in step 2? In this case, they arehttps://sso.bitwarden.com/oidc-signinandhttps://sso.bitwarden.com/oidc-signedoutrespectively. Add both of them to the Authorized redirect URIs section, order does not matter.
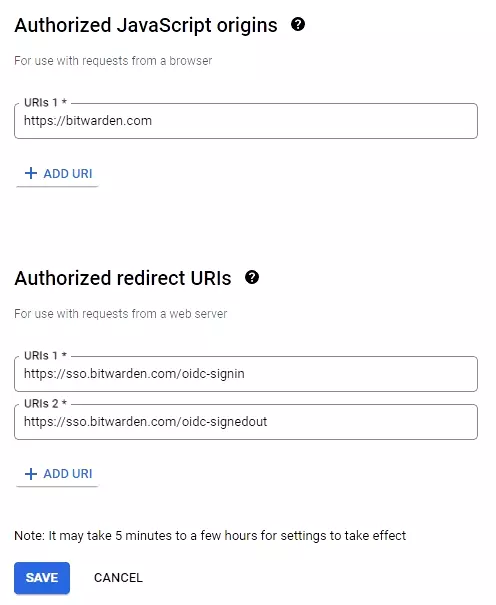
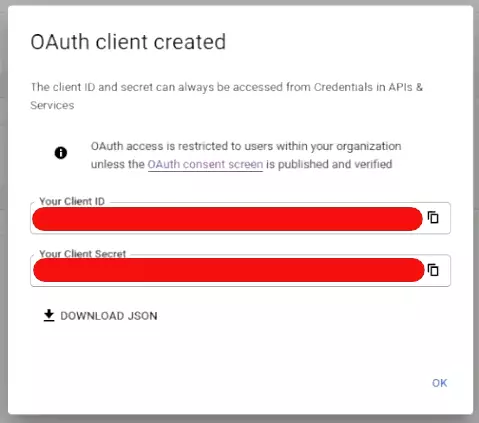
Press the Save button. If nothing goes haywire, the Client ID and Client Secret are then generated. Note them down, as they will be used in the Bitwarden dashboard when you return there.
Step 5: Enable an Identity Platform API in GCP
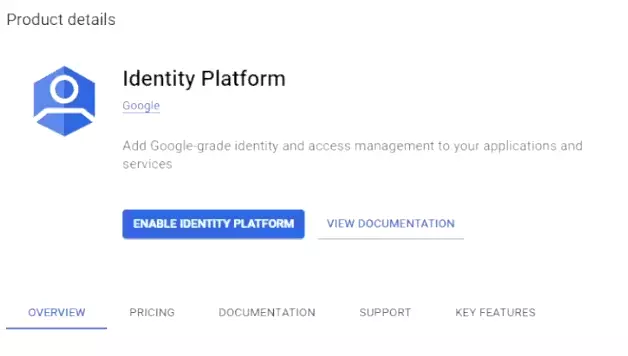
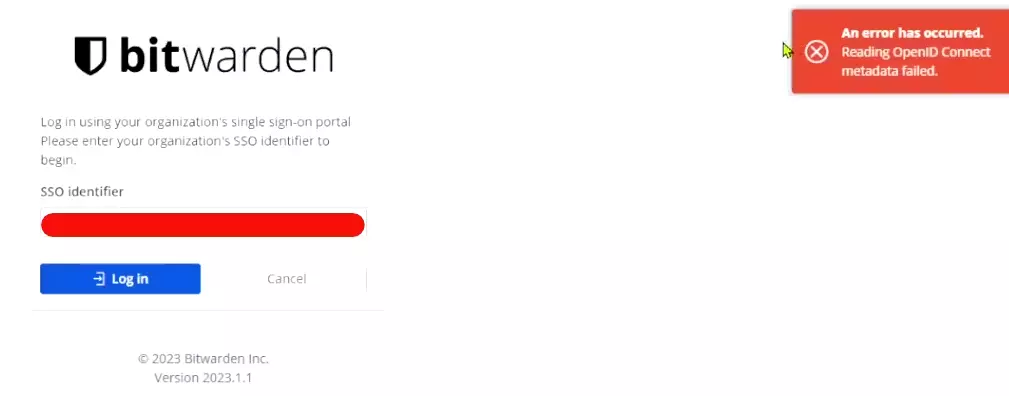
Use the search bar and look up Identity Platform. Navigate there and enable the API. If this step is not completed, you may face cryptic errors when attempting to SSO. This took me a little while to figure out. The two errors that I faced were:
# Cryptic Bitwarden SSO error 1 (consistently happened)
# This will make more sense when you go over step 6 of this tutorial
# Remember the keyword "OpenID Connect metadata"
An error has occured
Reading OpenID Connect metadata failed.
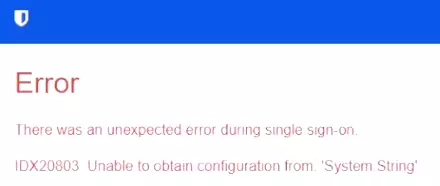
# Cryptic Bitwarden SSO error 2 (happened only once after multiple refresh)
There was an unexpected error during single sign-on
IDX20803: Unable to obtain configuration from: 'System.String'
I suppose these can be tracked down using the GCP audit log, but if Bitwarden has some sort of debug interface (for the online web portal, not self-host), it would have been a tremendous help in a case like this.
Step 6: Finalize the OpenID connect configuration in Bitwarden
In step 2 of this tutorial, you left the OpenID connect configuration empty, so now is the time to fill it out. In Bitwarden, go back to Organizations > Settings > Single sign-on > OpenID connect configuration and fill out the empty fields:
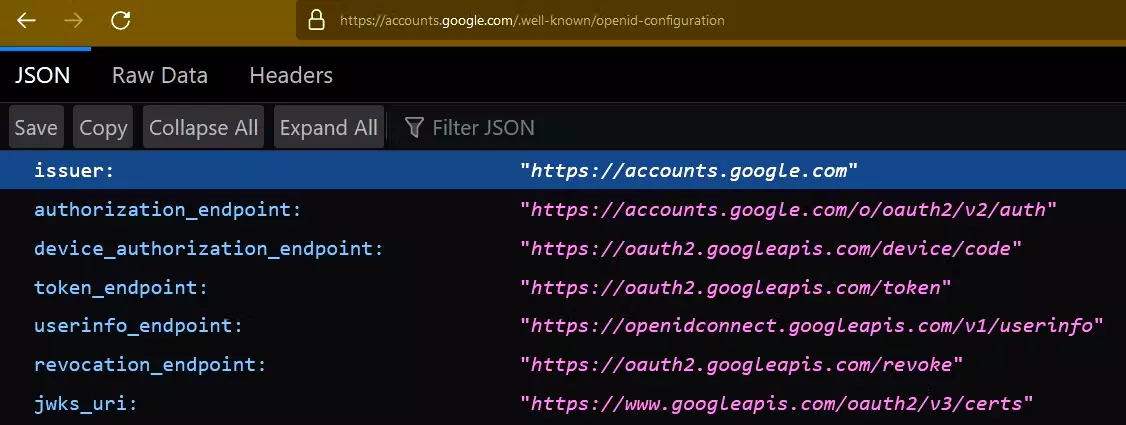
- Authority:
https://accounts.google.comThis is the value ofissuerproperty in SSO Well-known Documentation following the OpenID Connect Discovery specification. Each identity provider has a different address, and for Google, it ishttps://accounts.google.com. - **Client ID:**Use a client ID generated in step 4 of this tutorial.
- **Client secret:**Use a client secret generated in step 4 of this tutorial.
- Metadata address:
https://accounts.google.com/.well-known/openid-configurationUsing the OpenID Connect Discovery mechanism, Google provides the metadata for its SSO configuration athttps://accounts.google.com/.well-known/openid-configuration. This is a fallback URL so Bitwarden can go and look for anissuerwhen the Authority is invalid. The well-known address varies between identity providers, but they typically end in/.well-known/openid-configuration.
All other OpenID connect configuration options can be left as is. Press Save and now your Bitwarden Enterprise SSO has successfully been set up. Give organization users the SSO identifier and they now can sign in to Bitwarden using their Google account.
If any errors come up, refer to step 5 of this tutorial to troubleshoot. If both the Authority and Metadata address are wrong, you will certainly see an error in step 5. As a Bitwarden administrator, do remember to approve users’ join requests so they can see an organization vault. There should be a notification sent to an admin email address to notify about the user request.
Wrap up
In this tutorial, you have learned about the Bitwarden Enterprise plan and the necessary steps to configure Google SSO via OIDC with it. If your organization only uses Google Workspace, perhaps SAML is a better choice. However, if Google Cloud is an option, then OIDC is another way to set up the SSO. There are technical differences between the two approaches, but if the end goal is only to make SSO available, then OIDC and SAML are identical.
If you find this article to be helpful, I have some more for you!
- Cloudflare Turnstile and Wordfence 2FA break WordPress login flow, how to fix it?
- Is AMD GPU better than Nvidia on Linux? It depends
- How to back up Microsoft 365 with Synology Active Backup?
And, let’s connect!