Posted on:
Backup and encrypt Microsoft 365 with Synology Active Backup
In this article, I will go over the necessary steps to create the first backup of your Microsoft 365 cloud services on DiskStation Manager (DSM) 7.
Synology has been a strong player in the Network-attached Storage (NAS) market for home users and small businesses due to their user-friendly solutions. As a mature platform, Synology NAS features can be greatly expanded via the Package Center. One of the popular packages is Active Backup for Microsoft 365. In this article, I will go over the necessary steps to create the first backup of your Microsoft 365 cloud services on DiskStation Manager 7 (DSM 7).
Active Backup for Microsoft 365 provides a centralized interface coming with the auto-discovery service for efficient data backup and management, the continuous backup mode for minimizing the risk of data loss, Active Backup for Microsoft 365 Portal for easy restoration, and so much more.
Synology Inc.
Before we start
- As of the time of writing, only the following Microsoft 365 plans are supported: Business (Basic, Standard, Premium), Enterprise (F3, E3, E5), Education (A1, A3), and Exchange Online (Plan 1, Plan 2).
- Make sure your NAS device is compatible with Active Backup for Microsoft 365. The compatibility list can be found here.
- The tutorial assumes you already had some experience with DSM beforehand. Active Backup for Microsoft 365 is at version 2.4.1, other major versions can require different steps.
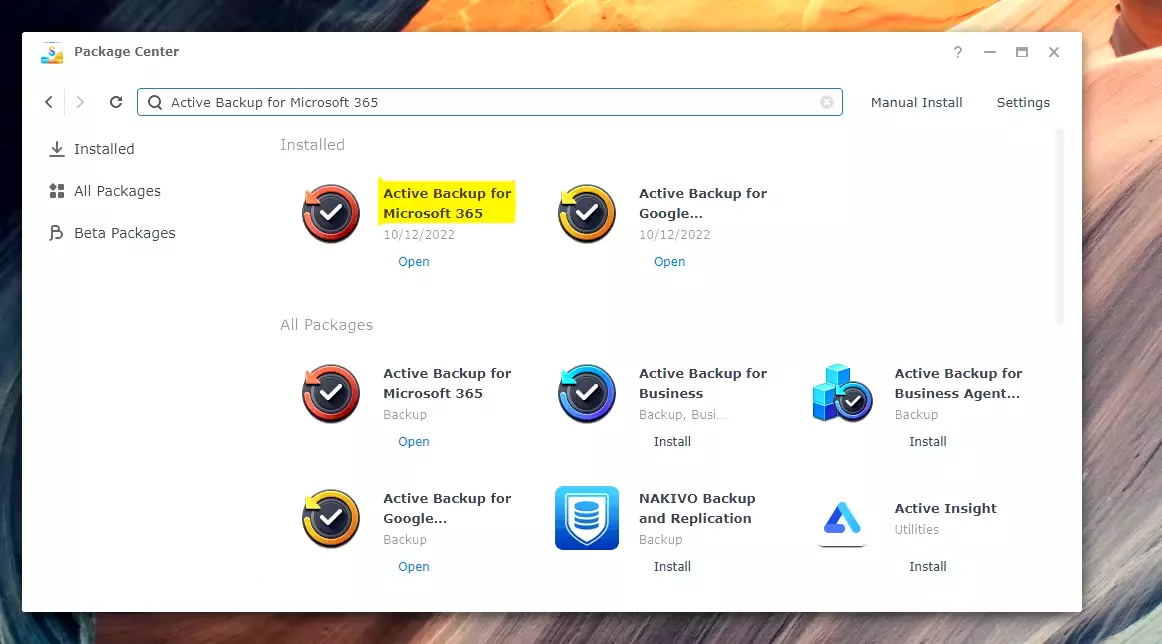
Step 1: Install Active Backup for Microsoft 365
Active Backup for Microsoft 365 is a free add-on package, so it does not come by default on a freshly installed DSM. Download and install the package. An online Synology account is required to activate the package.
Step 2: Create a backup destination
- Go to Control Panel > Shared Folder.
- Press Create, and enter the folder name. Set other checkboxes to your preference, then press Next.
- Choose Encrypted this shared folder and provide your preferred key. This is sensitive information so store it securely, and you will need the key to decrypt and mount the Shared Folder for future uses. The key can be generated using a password generator or other key generator libraries.

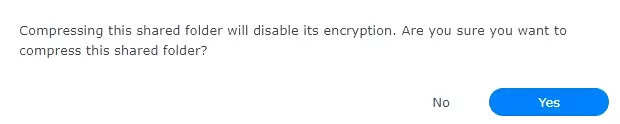
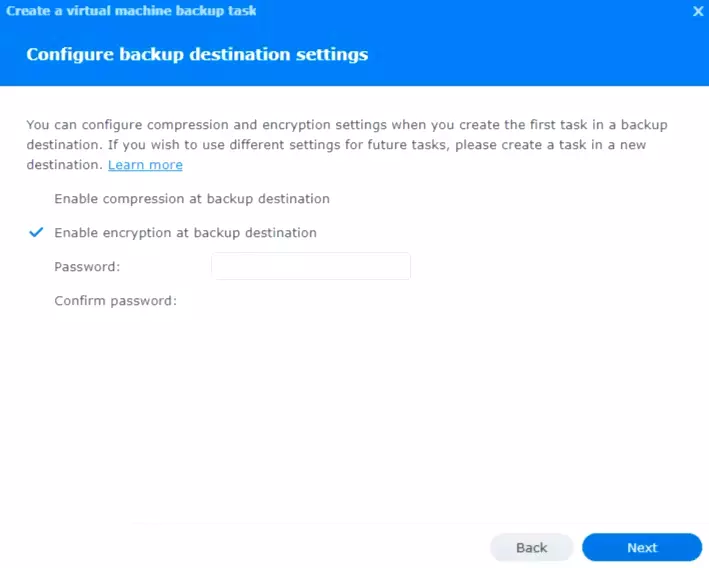
- Press Next and enable data checksum for advanced data integrity. Do not enable file compression or else, encryption will be disabled.
- Press Next to download the encryption key file (
.key), and finish creating a Shared Folder. - Set user permission to the Shared Folder according to your preference.
How about file-level encryption?
Sensitive data must always be encrypted, so there is more protection against malicious actors (e.g., thieves, hackers, etc.) However, encrypting an Active Backup for Microsoft 365 (also applicable for Google Workspace) might be confusing due to the lack of official documentation from Synology. File-level encryption is introduced in Active Backup for Business’s latest version (a different package, not for Microsoft 365 and Google Workspace). Therefore, encryption happens in a backup task, not a Shared Folder level.
However, file-level encryption is still not presented in neither Active Backup for Microsoft 365 nor Active Backup for Google Workspace, so we can only rely on Shared Folder encryption.
Why should you create an encrypted Shared Folder at the beginning?
Here is an interesting point, Synology uses eCryptFS as an encryption mechanism for its Shared Folder, so there is 143 English characters or 47 Asian (CJK) characters limitation on a file or folder name (not the whole path length). Therefore, enabling encryption on a non-encrypted Shared Folder with long-name files will cause an error.

However, if the Shared Folder has been encrypted since the beginning, backup tasks can still run and store files to the destination normally. However, the long file name is appended with (name too long) at the end. This is not just a visual presentation in the Synology portal, as the downloaded-from-NAS file also has (name too long) at the end. The Shared Folder can be un-mounted (encrypted) and mounted (decrypted) without any trouble. I reached out to Synology support to ask about this behavior, and they confirmed it is normal.

Step 3: Create a backup task for Microsoft 365 services
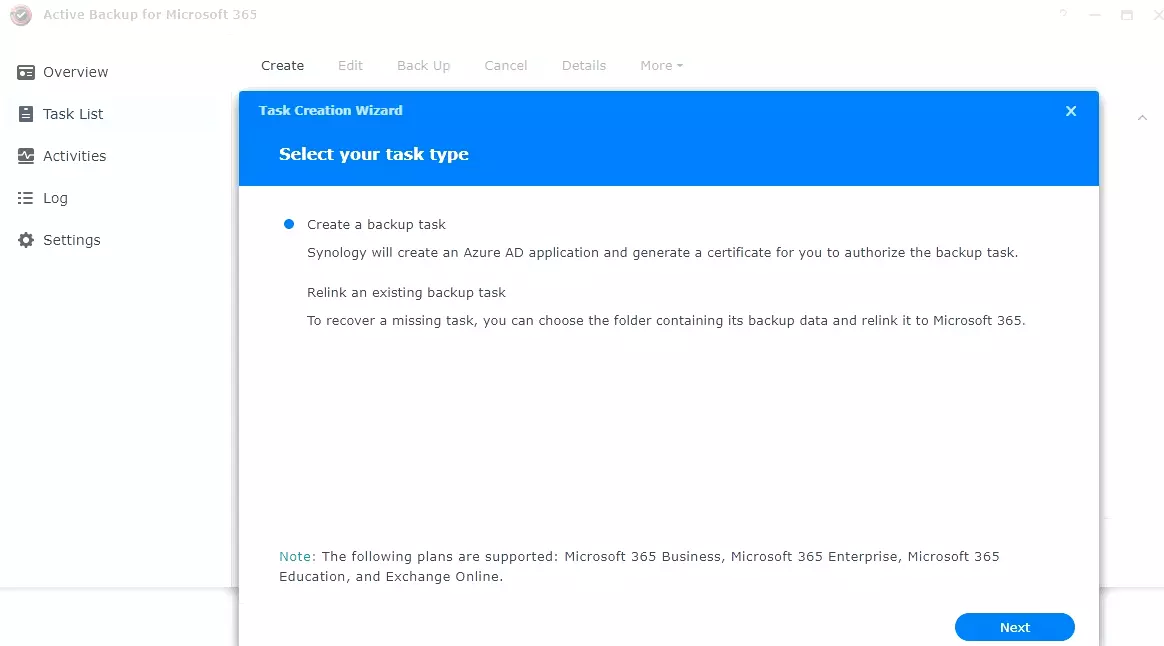
- Open Active Backup for Microsoft 365 package and go to Task List.
- Choose Create a backup task then press Next.
- Choose your preferred Microsoft 365 Endpoint. If your subscription is directly from the Microsoft website, then the choice is Microsoft 365.
- Set up a certificate password, treat it as creating an encryption key in step 2, then press Next.
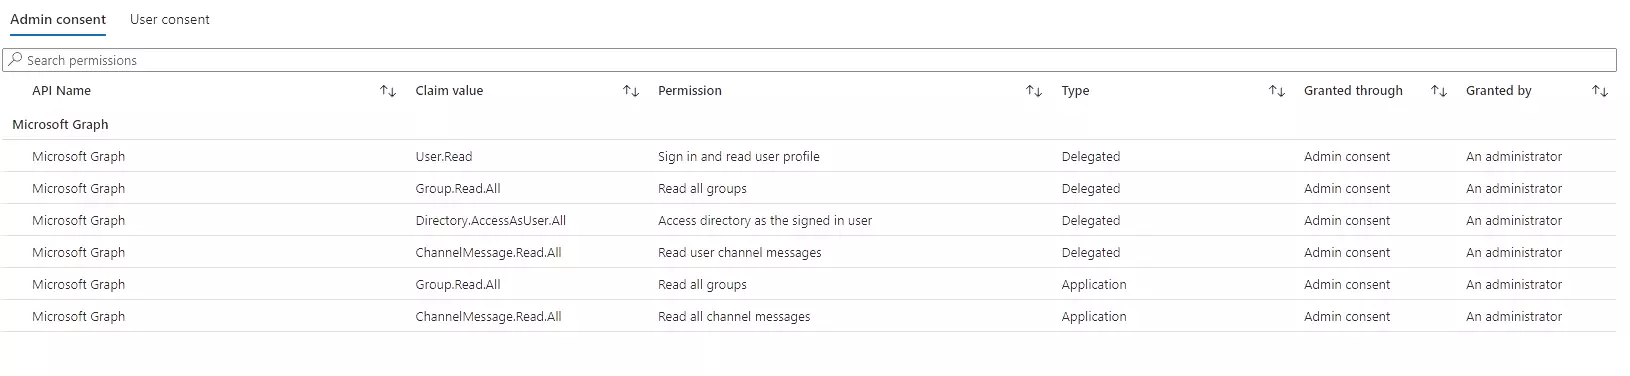
- Synology will require you to sign in as a Microsoft tenant admin with enough privilege to provide consent on behalf of your organization. The picture below shows the permission granted to an application created by Synology on Azure to perform backup tasks.
- You will be asked to confirm the NAS IP address. As a NAS, it should have a static IP address, but if that somehow changes down the road. Active Backup for Business allows connection edits, but that does not seem to be the case for Microsoft 365 and for Google Workspace, so you need to recreate a task.
- Fill out Task name, Backup destination (encrypted Shared Folder you just created). Other settings are according to your preference. Active Backup for Microsoft 365 allows backup for tenant users, groups, sites, teams, auto-discovery, and more. You can selectively choose what to back up.
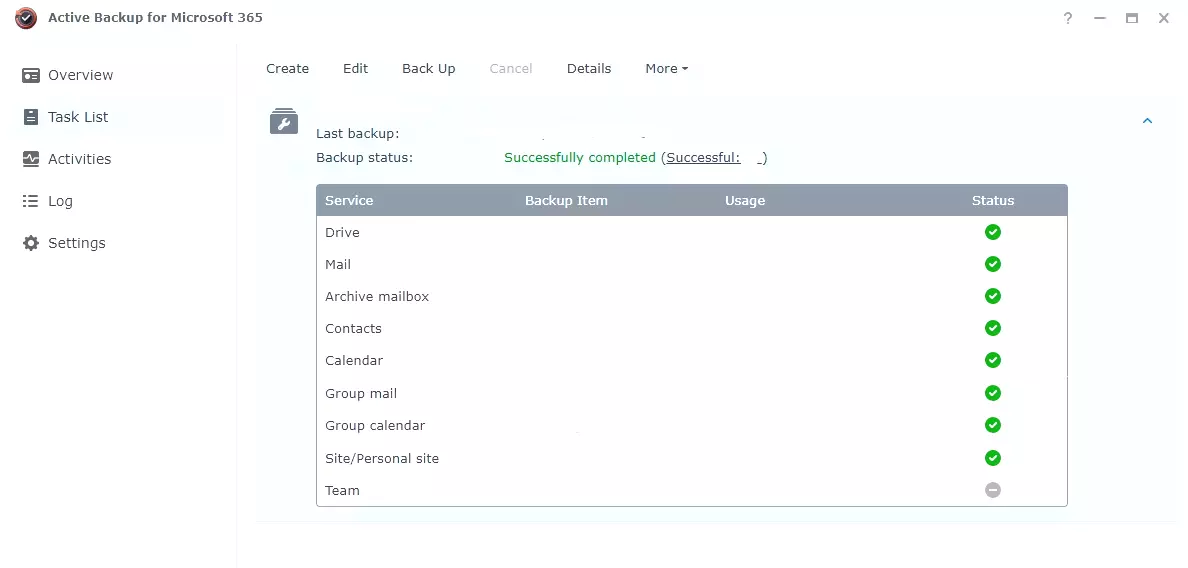
- Microsoft Teams backup requires access to Protected APIs, so you have to request Microsoft for access. Instruction for the request can be found here. If this is not satisfied, Microsoft Teams’ backup will fail. That said, it is great that the Active Backup task can be partially failed without creating any blockage to the flow.

- Press Next to select backup and retention policy. Personally, I preferred to have a physical air gap system, so my choice is to have Manual backup task and Keep all versions policies.
- Confirm the summary, then press Apply to finish the task creation.
- Now that the backup task is created, it should appear in Task List, and you can monitor its status or reconfigure certain settings along the line.
Wrap up
In this article, we learned about how to set up Active Backup for Microsoft 365 (v2.4.1) in DSM 7. Remember, different package versions might change how the process is, but in general, it should stay relatively the same.
If you find this article to be helpful, I have some more for you!
- Advanced GitHub Actions - Conditional Workflow ❓
- How To Choose The Best Headless CMS For Your Blogfolio?
- Strapi vs Directus vs Payload, Headless CMS Comparison
And, let’s connect!